Game 230 Game Scene Overwatch
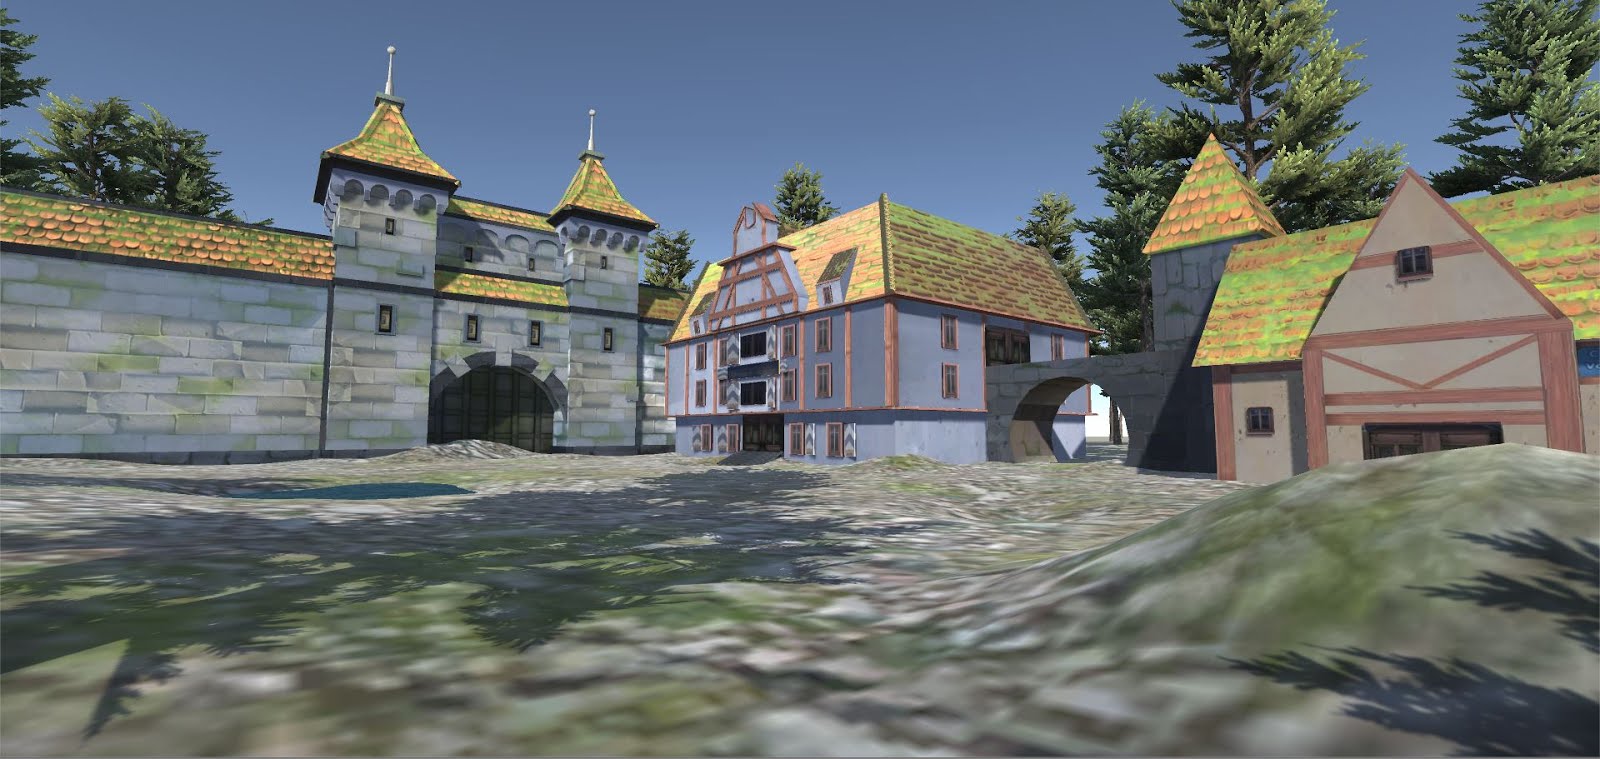

 This is the Final product of the game scene my group and I were working on. After finishing the models on our buildings, I brought them into Unity and started to play around with the terrain. I try to make the terrain compliment the the buildings so we could take good screenshots of the scene. I feel like our scene looks good. I had more fun then I expected during this assignment. I really enjoyed using Unity. It was my first time using it so I had to look up some tutorials to learn how to use some of Unity's features. But overall I think my group and I did a good job on this scene.
CAGD 230 Game Scene UV


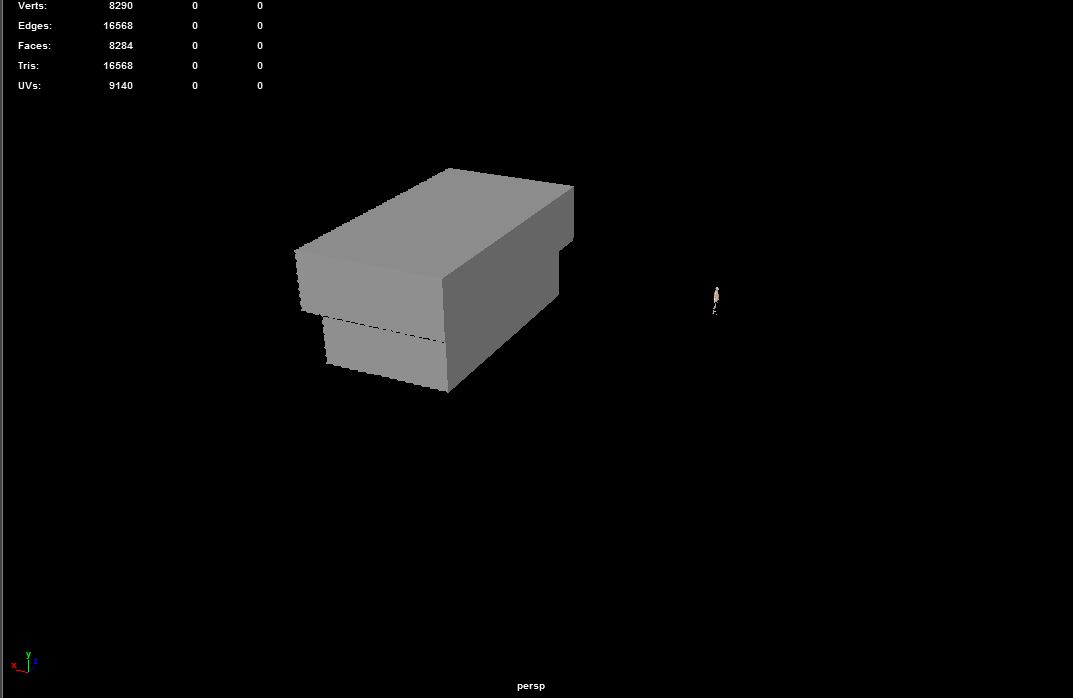
This week I started UVing my building. Some parts of the building we difficult to UV. Some pieces of the building would not unfold correctly so I had to UV a lot of individual faces and stack them on top of each other. The most difficult part of making the UV maps was organizing all the UVs. It took some trial and error to get my UVs in a position that I could work with.


CAGD 230 Game Scene Blocking

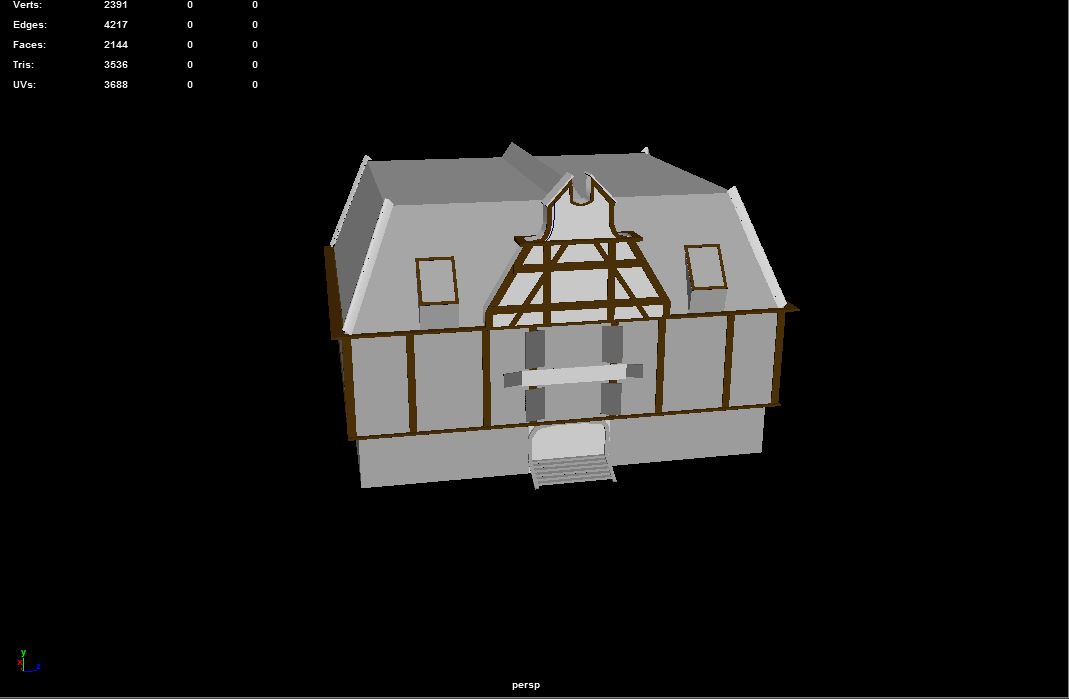
CAGD 230 Game Scene Blocking

During my work this week I started to block out some features of the building. I made the roof of the building by duplicating the top half and scaling the top face to make it feel like a roof. Then I started blocking the features on the roof. I just blocked them out for the moment so I could decide on what else I should add and how I should go about making them.
CAGD 230 Game Scene Blocking

In this assignment I am creating a building from the game Overwatch to make a game scene with my group. This week I began blocking the shape of the building that I was making. During this week I mainly focused on the bottom half and top half of the building. I used one cube as the bottom and then I duplicated it and scaled it to give the building its shape. I also added a model of a man to try to get a good scale on the building.
CAGD 230 Dining Scene Final
CAGD 230 Dining Scene Lighting

Right now in my dining scene I am working on the lighting. I have a spotlight on the main stage and I started to play around with the area light to start to make the scene brighter and I like how it turned out. The scene is dark but not to dark in my opinion but I might need to make the scene brighter once I start to add more objects. I also removed some chars because I needed to UV them better so the texture would look nice.

 The UV for the chair took some time because I had problems with it once I added edge loops to it But after messing with it for a while it started to look nice and I added some bump mapping to it. I also UV'd the counter top, which was difficult to do because it was one object that I extruded. I should of made the counter out of two objects instead of one. Currently I am adding UVs and edge loops to my scene to make the objects more smooth and detailed.
CAGD 230 Dining Scene Model UV

I am currently still working on my dining scene. This week I focused on modeling and UVing my objects. I have added texture to some of my objects but not all of them. I plan on adding textures to some of these objects but I may leave them as is. I made the texture for the pole myself in Photoshop. Although I did not make the picture within the pole, I found that online as with the other posters on the walls. I also plan on adding more utensils and other objects that would be found on tables in a diner.
CAGD 230 Dining Scene Blocking

This scene is my blocking for the Dining assignment where I will have to make a dining room with various objects and UVing and texturing at least 60 percent of the objects. The dining room I am referencing is a maid cafe. The layout of my scene was based on my reference image of a maid cafe. What I am trying to accomplish with this layout is to make the stage in the middle stand out. The objects in my scene are: Chairs, tables, ceiling lamps, pole, posters. and counters. I plan on adding other objects to the tables and counters to make them look like dining tables and counters.
CAGD 230 GroceryShelf


This assignment I was given the task to create a grocery shelf with items that would be found on the shelves. I had to use my skills with UVs to create the textures for the objects. In the beginning of this assignment I had no issues. Creating the UV maps for the boxes from templates I reference wasn't too difficult. Where I did run into problems was when I needed to create a glass look for the jars. The first jar I made was too hard, but when I tried making a second jar the glass texture would not work. This was very frustrating for me and it gave me a lot of stress. Eventually I found a way to bypass this issue to give the jar the glass texture. After finishing the assignment I feel I did a good job and I believe that I have learned a lot about problem solving.
CAGD 230 TableChair


In this assignment I created a wooden table and a wooden chair using real measurements for all of the parts. I also used what I've learned about UVs and bump mapping to help me make the textures. This assignment got frustrating for me when I got to the part where I needed to use the UV editor. Using the UV editor to organize my objects so I could add a texture to them was difficult for me because I would usually miss a stop or part of an object making my UV editor look strange. But after playing with some of the settings and some trail and error I was able to fix my problems. This assignment was difficult but I believe it helped me learn more about UVs and bump mapping.
CAGD 230 Pencil


During this project I had to create a 3D model of a pencil in maya. This project was enjoyable but also it also got was difficult at times. The part that was the most difficult for me was adding the bump map to the body for my name. I had trouble adding my name to the body because i had forgot to turn off the snapshot in Photoshop so the pencil did not look correct. But after I had figured this out I quickly changed it and my pencil looked more realistic. I chose these angles for this renders because I thought it made the pencil look more realistic. This project helped me to understand more about UVs and bump mapping. Making this pencil was very enjoyable even at the difficult times and was a great learning experience.

In this project I had to create a scene using Maya primitives and the manipulation tools. I chose to do a scene in a park. I decided to put multiple trees across the benches because I thought it would look more calming. I also added the bigger tree near the benches because i thought the shade it provided would look nice. The reason I chose this angle for the final image is because I thought it was the best position to show off the shadows produced by the light. I was going to a park like feeling in this scene and I think I did a good job making the basic feel of a park. The only real problem I had was trying to find a good position for the directional light to make the shadows look natural. I had to play around with the light to make it work. Other than that I think this scene looks alright.
No comments:
Post a Comment